Keeping your nebulizer clean is essential for effective and safe respiratory therapy. Regular maintenance prevents bacterial and mold growth, ensuring you receive your medication as intended without risking infection. With over a decade of experience in respiratory care, I’ve guided countless patients on the best practices for maintaining their equipment. This article provides step-by-step instructions for cleaning your nebulizer properly, so you can breathe easy knowing your device is safe and functional.
Why Cleaning Your Nebulizer is Important
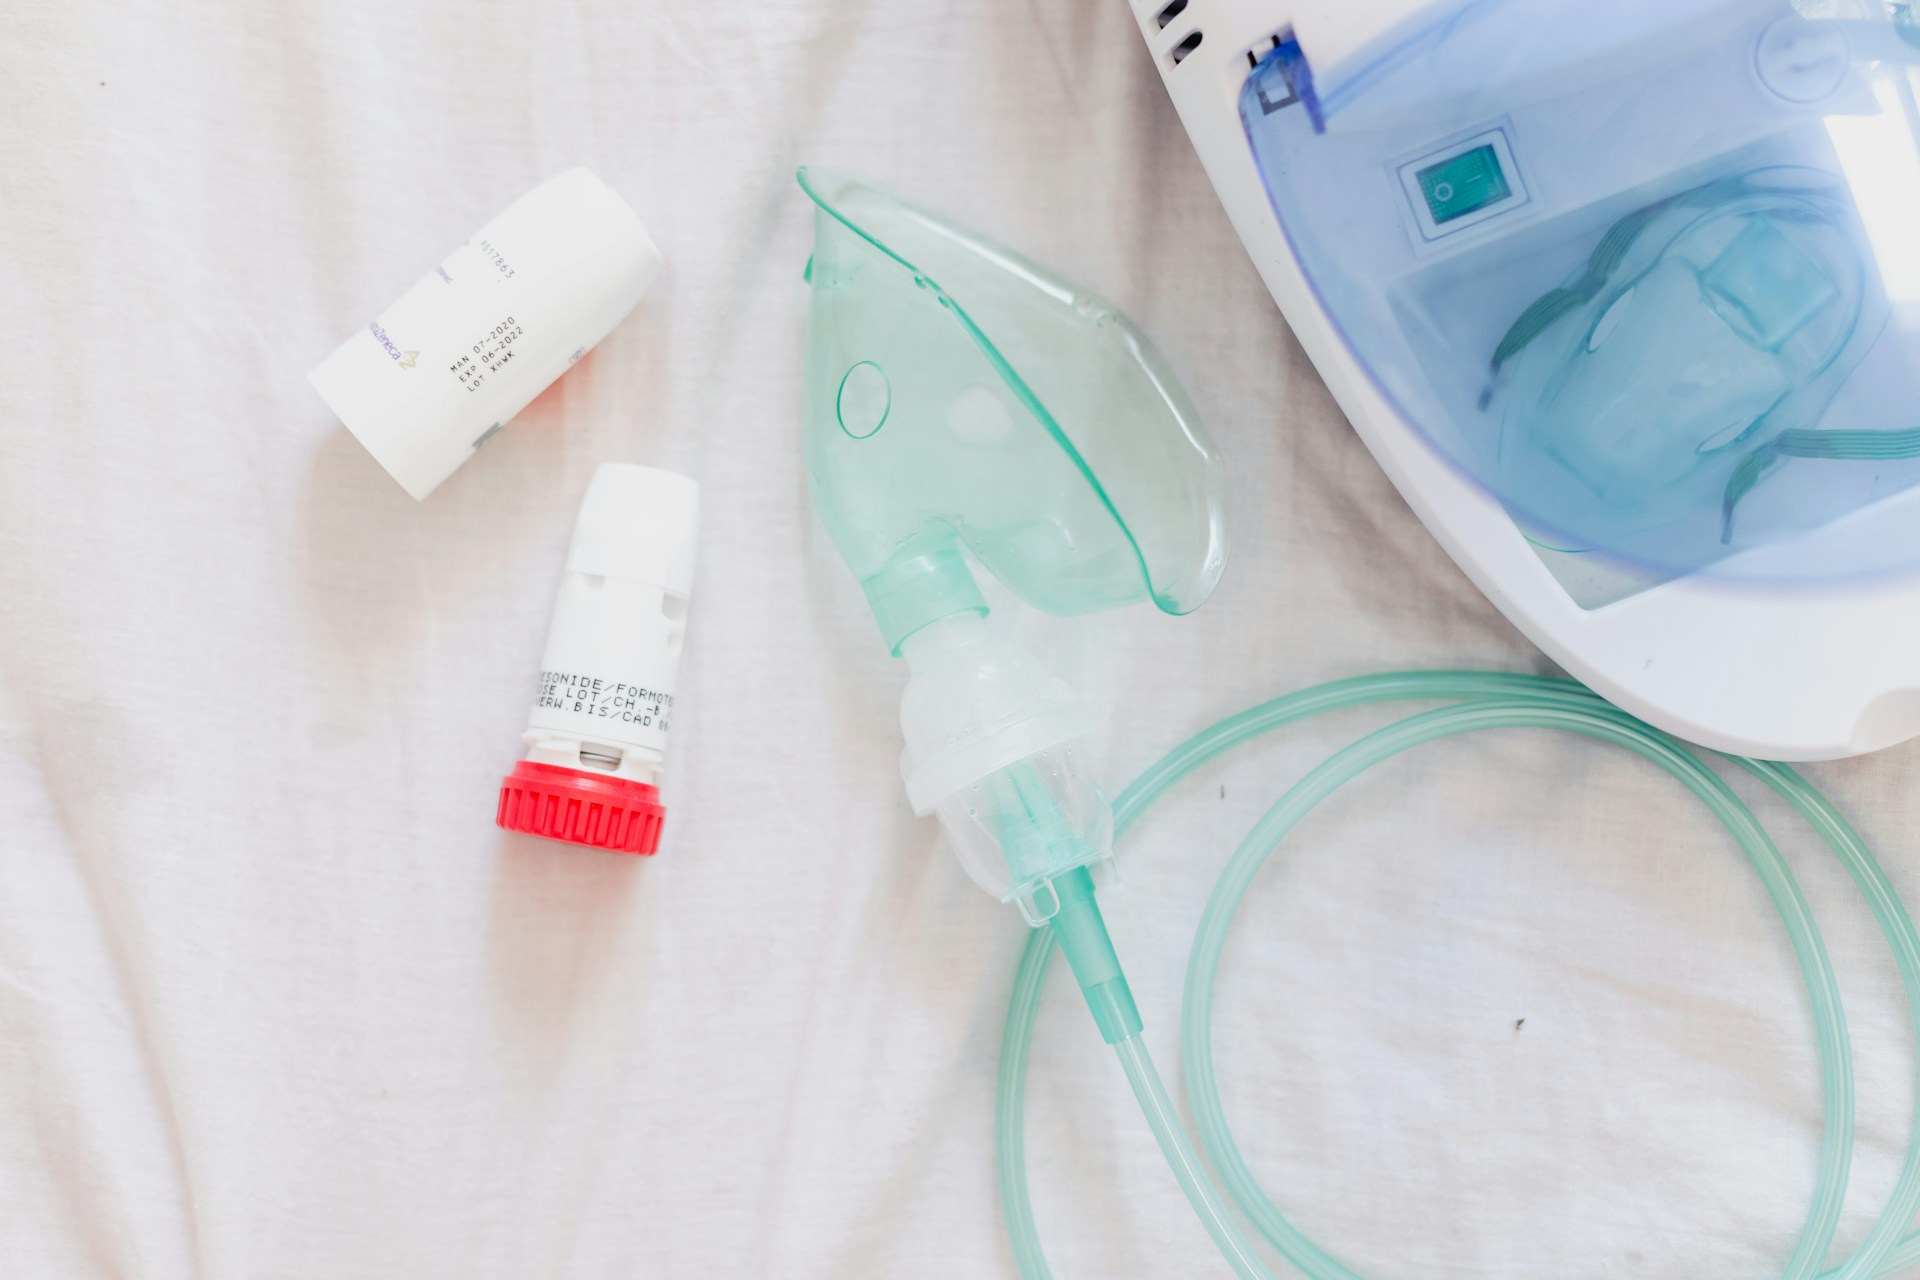
Nebulizers deliver medication in the form of a mist directly to the lungs, making them highly effective for treating respiratory conditions like asthma, COPD, and bronchitis. However, because nebulizers deal with liquid medication and humidity, they can easily become a breeding ground for bacteria and fungi if not cleaned regularly. Dirty nebulizers can lead to infections, decreased medication effectiveness, and complications.
Materials You Will Need
Before you start cleaning, gather these items:
- Warm water
- Mild, fragrance-free dish soap
- White vinegar (for disinfecting)
- Clean, lint-free towels or paper towels
- A clean storage container or breathable bag
Step-by-Step Daily Cleaning Instructions
Daily cleaning should be part of your routine after each use to maintain the nebulizer’s functionality and hygiene.
1. Disassemble the Nebulizer
-
Carefully take apart the nebulizer, separating the mouthpiece or mask, medication cup, and tubing.
- Note: The tubing doesn’t need to be cleaned; only the parts that come into contact with medication or your mouth need regular washing.
2. Rinse the Parts
-
Rinse the mouthpiece or mask, medication cup, and other detachable parts under warm running water for 30 seconds to remove any residual medication.
3. Wash with Soapy Water
-
Fill a clean bowl with warm water and a few drops of mild dish soap.
- Submerge the parts (excluding the tubing) and gently wash them by swirling them around and rubbing lightly with your fingers.
4. Rinse Again
-
Rinse each part thoroughly under warm water to ensure all soap is removed, as any soap residue can affect medication delivery.
5. Air-Dry the Parts
-
Place the washed parts on a clean, lint-free towel or paper towel. Allow them to air-dry completely in a clean, dry area. Avoid using cloth towels to dry the parts as they can leave fibers or introduce bacteria.
Weekly Disinfection Routine
In addition to daily cleaning, a weekly disinfection routine helps keep your nebulizer extra clean and safe to use.
1. Prepare a Vinegar Solution
-
Mix one part white vinegar with three parts warm water in a bowl or container. This solution is effective for killing most bacteria and fungi.
2. Soak the Parts
-
Submerge the parts of the nebulizer (excluding the tubing) in the vinegar solution. Let them soak for 20-30 minutes to ensure thorough disinfection.
3. Rinse and Dry
-
After soaking, rinse the parts with warm water and place them on a clean towel to air-dry completely. Make sure the parts are fully dry before reassembling or storing to prevent moisture buildup.
Tips for Drying and Storage
- Air-dry completely: Always ensure the nebulizer parts are completely dry before storage. Moisture can promote bacterial growth.
- Store in a clean, breathable container: Place the dried parts in a clean container or a breathable storage bag to keep dust and contaminants away.
- Avoid sealed bags: Storing your nebulizer parts in airtight bags can trap moisture, leading to potential mold growth.
Common Mistakes to Avoid
- Skipping the Tubing: While the tubing itself doesn’t need cleaning, it should be inspected regularly for moisture buildup or discoloration and replaced as needed.
- Using harsh chemicals: Avoid using strong disinfectants or alcohol-based products, as these can damage the plastic parts or leave harmful residues.
- Rushing the drying process: Never use a hairdryer or towel to speed up drying. This can lead to damage or introduce fibers into the parts.
How Often to Replace Nebulizer Parts
-
To maintain the effectiveness of your nebulizer and ensure safe use:
- Medication cup: Replace every 6 months or as directed by the manufacturer.
- Mouthpiece or mask: Replace every 6-12 months, or if signs of wear appear.
- Tubing: Replace every 1-3 months, especially if it becomes discolored or shows signs of moisture buildup.
FAQs
1. How often should I clean my nebulizer?
You should clean your nebulizer after each use and disinfect it at least once a week.
2. Can I use the dishwasher to clean my nebulizer parts?
Check the manufacturer’s guidelines. Some nebulizer parts are dishwasher-safe, but hand washing is typically preferred to avoid damage.
3. What happens if I don’t clean my nebulizer?
Neglecting to clean your nebulizer can lead to bacterial or fungal growth, which may result in respiratory infections or decreased effectiveness of your medication.
4. Can I use other disinfectants instead of vinegar?
Yes, a medical-grade disinfectant solution approved for respiratory equipment can be used, but always follow the manufacturer’s recommendations.
5. What should I do if my nebulizer parts are discolored?
Discoloration can indicate the presence of residue or bacterial growth. Replace the parts immediately to maintain safety.
Conclusion: Keeping Your Nebulizer Clean for Effective Therapy
Regularly cleaning and disinfecting your nebulizer is essential for safe and effective respiratory therapy. By following these step-by-step instructions and incorporating daily and weekly routines, you can maintain your equipment’s performance and ensure optimal delivery of your medication. Take the time to care for your nebulizer, and it will continue to support your health with every use.